Etsy Price List and FAQ

Here is the current Etsy Price List for

the Watermelon Stand


Beeminewebchalkboard1

Prices subject to change.

F.A.Q.

I can do special pricing for more than one sign.


Etsy Prices


Slates (w/ small wood border)


4 x 6 = $18


7 x 9 = $ 22


8 x 10 = Currently out of stock (Back ordered from supplier)


9×12 vintage green child’s chalkboard decorated to your specifications. $20


Regular Chalkboard Prices


Wood (masonite type material) Chalkboard Paint coated by hand or with baked on chalkboard paint (while available)


Hand decorated with acrylic paint and chalk. Semi permanent or permanent to your specifications.


Edges are painted black so do not necessarily have to be framed. Especially with pretty borders.


Keep in mind 8 x 10 and 11 x 14 have approx. 12 word limit anything longer needs to go on a larger board.

Custom sizes available

NOTE: Except for some Recipes, Anniversary, engagement and birthday boards that require extra customization and artwork…Custom Orders  that fit in an existing design MAY receive a %20 discount. Ask me about details. We will see if your design choices qualify you may combine design elements to qualify.

See my designs by clicking the picture below.

weddingsigns2


Sizes unframed Framed

8 X 10 = $25.00 $40.00

11 x 14 = $52.00 $65.00

12 x 16 = $59.00 $75.00

12 x 18 = $59.00 $75.00

12 x 20 = $62.00 $78.00

16 x 20 = $90.00 $119.00

18 x 24 = $105.00 $135.00

20 x 24 = $120.00 $150.00

18 x 36 = $130.00 $165.00

22 x 28 = $145.00 $185.00

24 x 36 = $180.00 $220.00

24 x 39= $195.00 $244.00

24 x 48 = $250.00 $300.00

Black and white or colors are available.


Colored background is also available.


Stands are available for 11×14 or smaller for unframed boards to sit on tabletop.


https://www.etsy.com/listing/117144135/chalkboard-stand-for-your-chalkboard-art?


I can modify and make a larger stand for 16 x 20 and 18 x 24 upon special order.


Wedding seating charts with 50 or more names add $20 and need to be 22×28 or larger.


Orders needed in less than 2 weeks add $20.


Frame prices may vary if you choose more expensive frame.


Above prices are for white distressed with black undertones rough pine frame. (like bee happy chalkboard)


Hope this helps ask me any questions


Custom sizes and shapes available usually match the closest regular dimensions.


Paper Posters and Digital art is available. request a separate price list.


To get an idea of a design you like you may look at my design page


Chalkboard Designs


I can mix and match design elements like borders, lettering styles, layout, ribbons, scrolls chalk swirls and shading to make a new design for you. All my work is hand drawn and hand lettered.


I can create new ribbons and lettering and designs too. I also do a lot of custom artwork chalk line drawings on custom boards also.


When you choose your size and medium send me your zip and I can figure you actual postage.


You may purchase a non-refundable deposit for the design draft.


It is not printable and usually contains a watermark that will not be on your finished product. Changes to your design may be made as needed.


The deposit is subtracted from your final order.


You have the option of purchasing the size you need my Etsy store also and I will refund any overage you may pay on the shipping.


https://www.etsy.com/shop/watermelonstand


Or you can wait and I can make you a special listing for your order that contains the actually shipping charges. Please send your zip so I can figure actual shipping costs.


I am actually asking clients to purchase a deposit listing or paid in full listing in order to work on their designs and to reserve their place in line, so to speak.
Essential Oil Storage

Some clients have asked how to store their essential oils.

Essential oils can evaporate easily and oxidation will occur more rapidly when exposed to ultra violet light and heat.

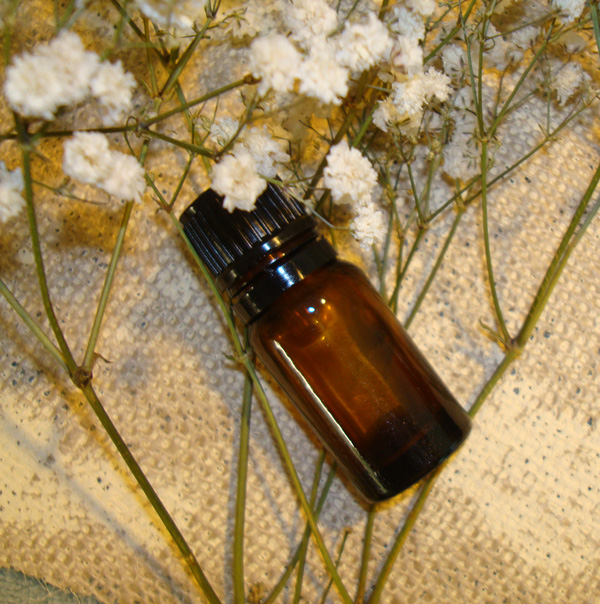
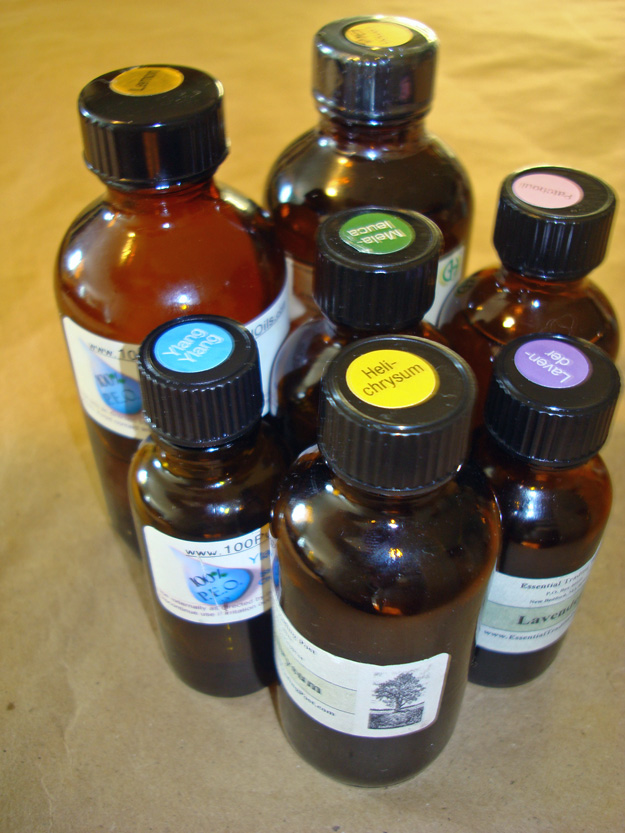
Amber and cobalt blue bottles help filter the ultra violet light and keep essential oils fresh.

Amber Euro Glass Bottle 5 ml w/ Dropper Cap

Cobalt Blue Euro Glass Bottle 5 ml w/ Dropper Cap


The closure on the bottle is important for two reasons. One to prevent evaporation and two the cap must be made of something that will not deteriorate when exposed to the fumes and the oil. So the cute little corks on some bottles may not be a good choice. The best choice would be European Orifice closures and lids.


Euro dropper caps

Do not get confused with the term dropper. Rubber Eye dropper type lids should not be used as many oils will deteriorate the rubber on the dropper.

All the oils sold by The Watermelon Stand  Come in Amber or cobalt bottles with European orifice dropper lids.

Essential Oils

Where to store the bottles becomes the next question. If you are using your oils a lot and need them close at hand I believe a dark cool place like a dresser drawer in your bedroom is fine. Or in a wooden box or pouch on top of your dresser would be fine. I would not suggest the kitchen or bathroom as the changes in temperature would not be good for the oils. A cool dark place is best. For long term storage the refrigerator could be an alternative. I store my stock of oils in wooden boxes in a refrigerator. The ones I use daily are in handy little cases for my purse or bag. I have a collection of oils that I use daily in one of these cute pouches. This is stored in my dresser drawer so it is handy for massages and to use before bed, after shower and of a morning.

Travel case. These are wonderful. Also available on Amazon.

These cases are wonderful for travel too. They come in a variety of colors and some different sizes and styles.

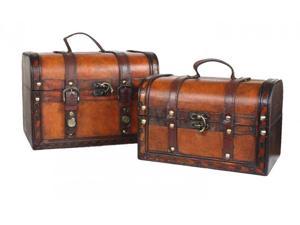
I also love wooden boxes to store oils in.

I have some boxes like the ones below that I picked up at Micheal’s Craft store. They do not have dividers but I have them full of essential oil bottles so they fit snugly. These containers are not moved around too much so the bottles do not bang together. These also fit my larger 4 oz bottles.


Hope this helps some you to find some ways to store your essential oils.

Lisa

Shop


Homemade Laundry Soap

Home Made Laundry Soap Concentrate

I have been making my own Homemade Laundry Soap scented with essential oils for four years now. I have tweaked the recipe to my liking and have made a few adjustments.

My Basic Recipe is

4 0r 5.5 oz bar of soap grated

1 Cup of Washing Soda

1 Cup of Borax (optional some fear the use of this)

5 gallon bucket with Gamma Lid

Water

About the ingredients:

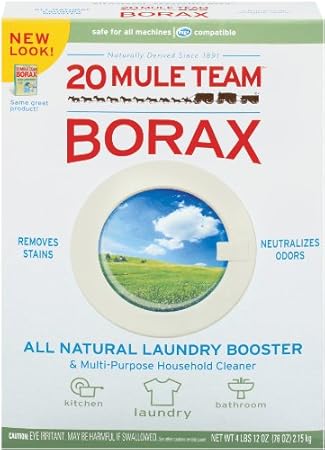
WASHING SODA not Baking SodaTwenty Mule Team Natural Laundry Booster & Multi-Purpose Cleaner-76 oz.

Washing soda not baking soda. Borax is a great cleaner. Borax is natural but it never degrades so we use it and it seems to dissolve but really it is still there and settles out again and may not necessarily be back into your tap water but remains built up somewhere in the environment.


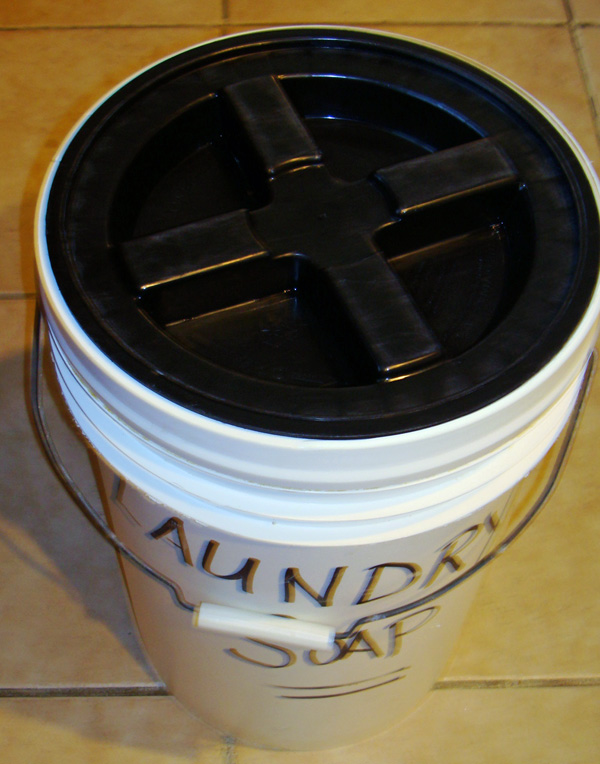
5 gallon bucket and Gamma Lid. These Gamma lids have a rim that permanently fits on the bucket and a screw top lid insert that seals tight but allows you to open the bucket whenever you want easily! Great for food storage too.

For the SOAP:  I prefer to use Plain Castile Soap that I usually order from

Virginia Soaps & Scents it is their Cleaning Bar 8 oz for $4.95 found in the Laundry section. I use 1/2 of the 8 oz bar for a recipe.

I buy the 8 oz bar not the already grated soap. The 8 oz bar makes 2 large 5 gallon buckets of concentrated laundry soap.

Or I like the All Natural SFIC Castile Melt and Pour Soap Base: From Bulk Apothecary. This I measure and use 4 to 5 oz. per recipe.

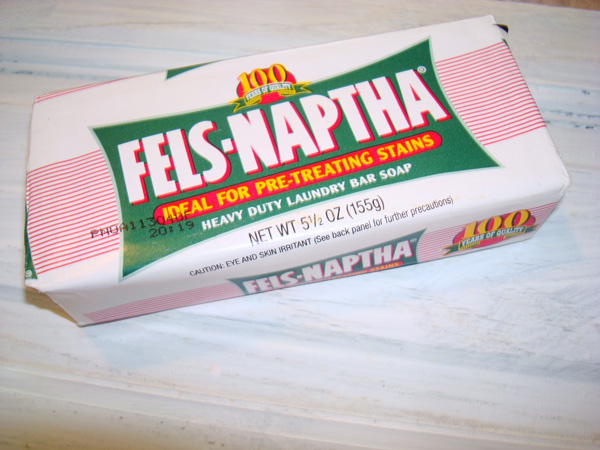
Fels-Naptha Soap

But I have several bars of the Fels-Naptha soap so I use that every other batch or when I am out of the Castile soap.

Some people have used

Dr. Bronner’s Organic Pure Castile Peppermint Soap, 5 Ounces

Dr. Bronner’s Organic Pure Castile Peppermint Soap, 5 Ounces. However this would make wonderful Laundry Soap but would not be quite as cost effective.

Now the for the tutorial…

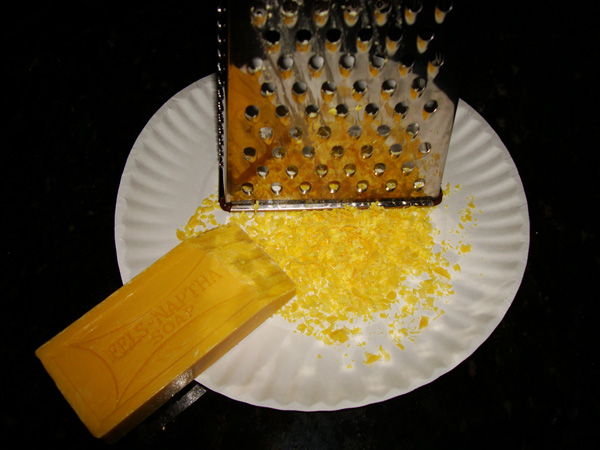
1. Grate the soap:

Grate the Fels-Nappa Soap

Grate the soap. I use a cheese grater. Cleans up nicely with water.

Grate the soap. Looks like cheese doesn’t it. It even does in person. Once I was getting ready to make soap and had to stop and make dinner. I left the plate of grated soap sitting on the counter and my husband almost put it on his taco. He said this cheese is really hard when he started to pick it up. It looks like curly grated cheese but when you touch it it is much stiffer than cheese.

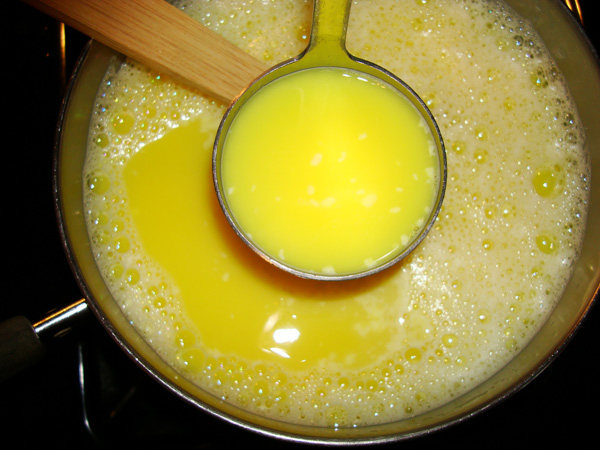
2. Put grated soap into small saucepan and cover with warm water.

Okay so I did not put it on the stove and start to melt it right away. Instead I got busy doing something else and then 4 hours later it had all dissolved into a globby mess.

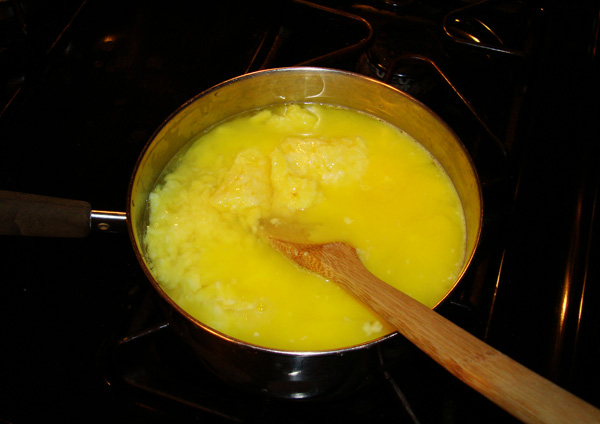
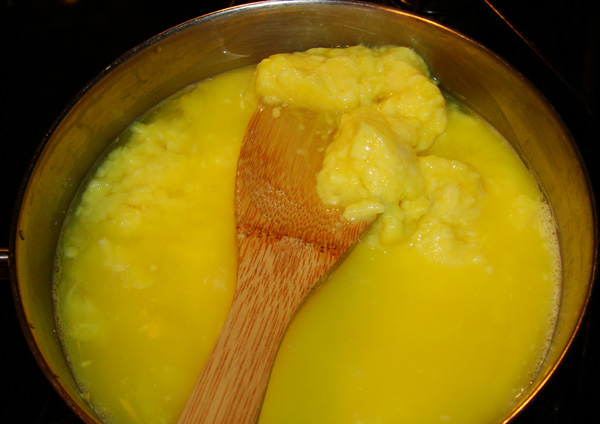
3.Now your will not necessarily look like the above picture but put it on the stove and while stirring constantly melt it over med heat.

close up before heated.

Melted soap.

Melted soap ready for next step.

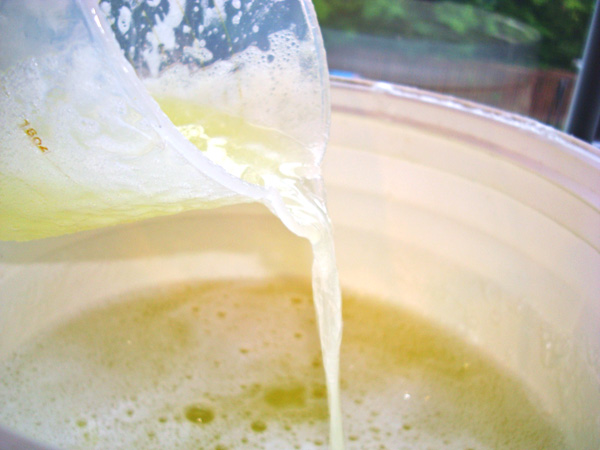
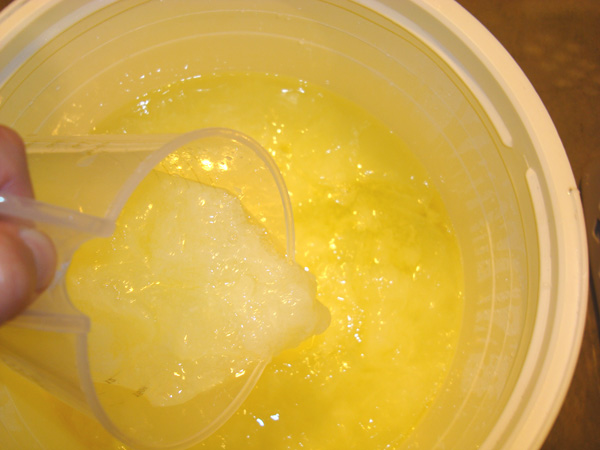
4. Add hot melted soap that was in the saucepan with water to the bucket add the washing soda and borax and about two or three saucepans full of the hottest tap water you can get from your tap.

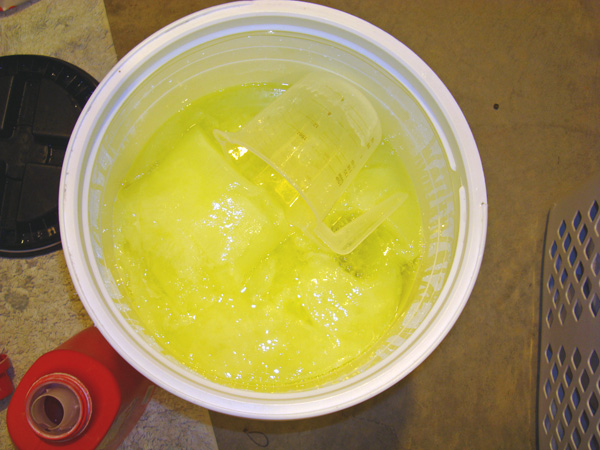
Melted soap, Borax and washing soda with more hot water. Stir well.

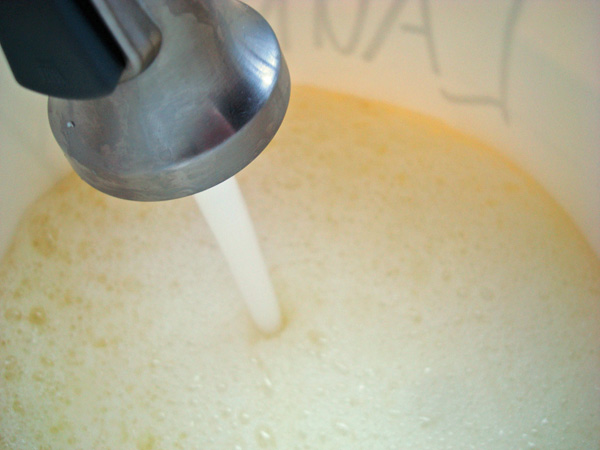
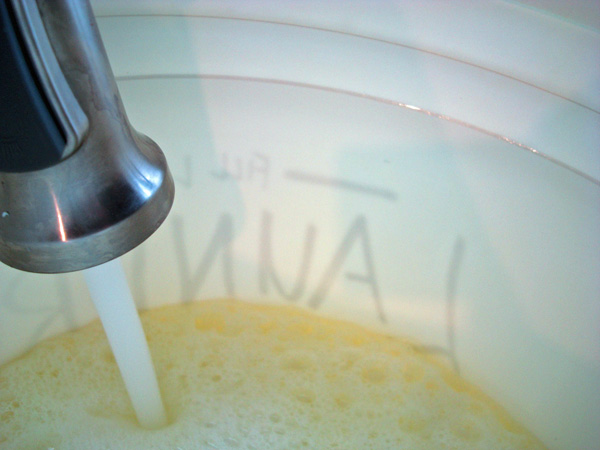
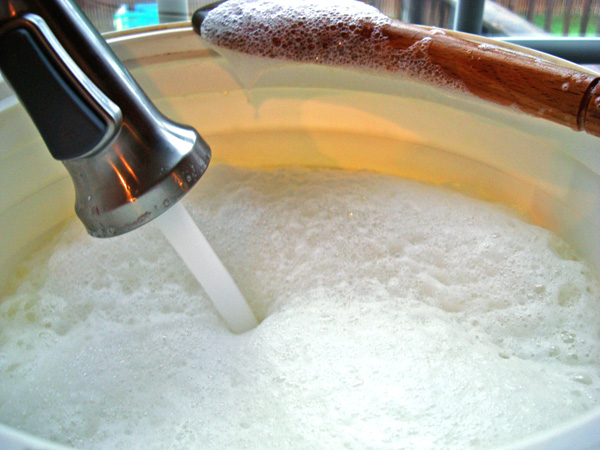
5. Add more hot tap water to 4″ below rim of bucket.

Add water to almost fill bucket leave three to 4 inches head space.

Fill bucket with hot or warm tap water.

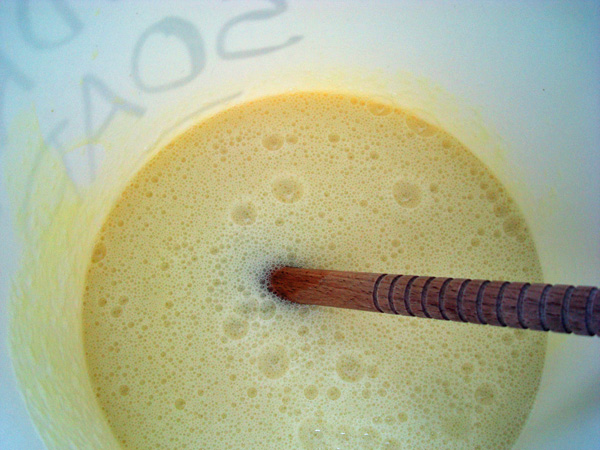
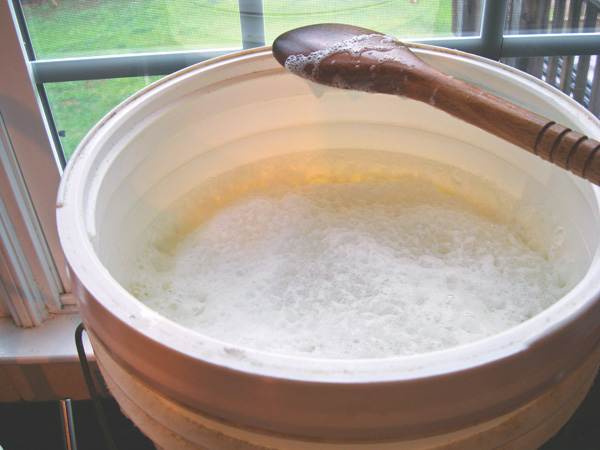
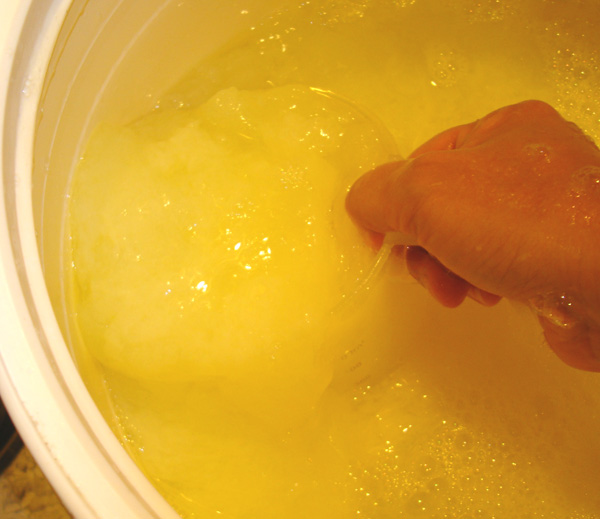
Stir with wooden spoon.

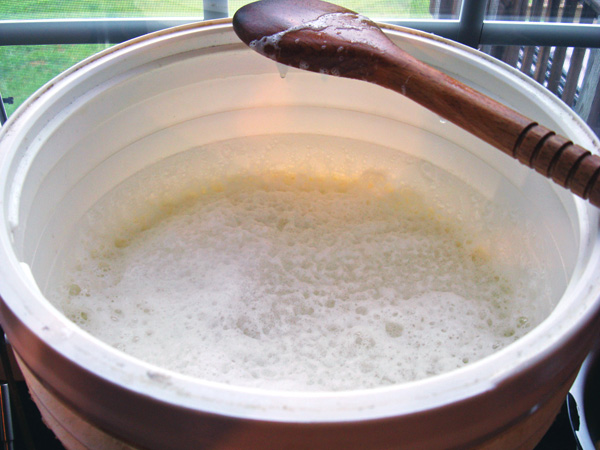
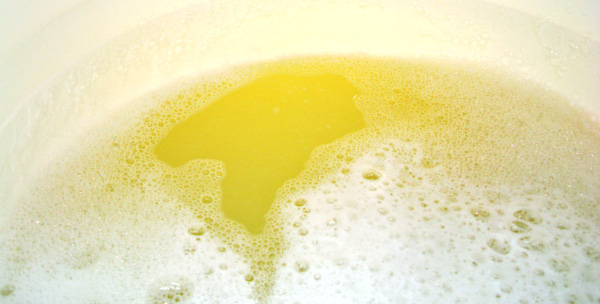
Suds beginning to settle.

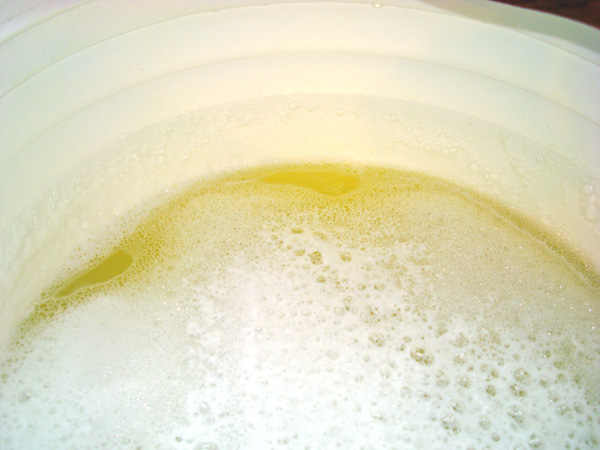
Here you can begin to see the soap below the suds.

The consistency is very runny.

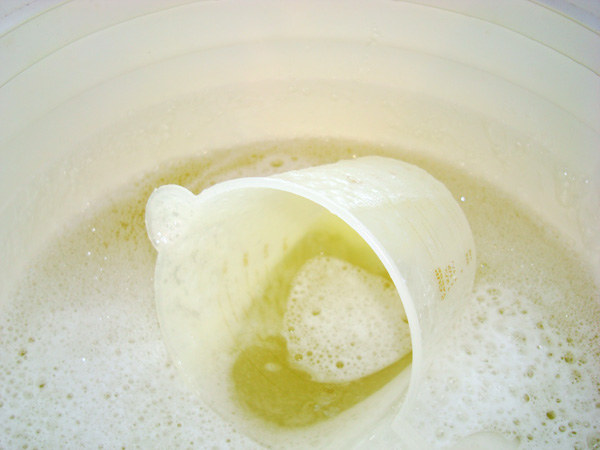
I just leave this plastic measuring cup in the bucket all the time.

Close the lid and wait overnight.

6. Close the lid and wait overnight.

Next morning the science experiment emerges.

7. the next morning you will open the bucket to find it has turned to a weird jell consistency.

turns somewhat more runny upon stirring still with chunky jell like globs. This is how it is supposed to be.

You have to stir it around a little with the scoop or measuring cup every time you want to fill a jug.

8. I fill an old Tide jug 2/3 full of the concentrate goo. The best way is to put the jug over the bucket and stuff the goo into the opening as best you can by pouring it from the measuring cup. It gets all down the sides but I just wipe it off with a dirty towel and throw that towel in a load of wash.

9. Then I fill the jug with water. You must shake the jug before pouring the detergent into the cap. I use a half a cap in my front loading washing machines. (I have two washers and two dryers, another post)

10. Now for the clincher. It has no optic brightener in the formula. So some whites get really grey and dingy after a while. I imagine our colors are less bright to but it is not as noticeable as the whites. The most noticeable is the underwear. And the more polyester in the fabric the quicker the greying takes place.  I really couldn’t get a good picture of the towels, white shirts to show the difference and sorry I am not photographing any underwear. My solution is a laundry booster that is mostly brighteners. Want to know how much brighteners are in your commercial laundry detergent (I wager they are in most all laundry products especially detergents and carpet cleaners and spot cleaners) Just pour into a cup and hold a black light on it for a cool affect turn off the light in the laundry room and shine a black light around you can see where you spilled laundry soap.

Says it is color safe bleach but contains no bleach and just glows under the black light.

Now if Natural is what you are going for then your whites will not be white after awhile. I have refrained from adding this to the bucket of laundry detergent concentrate because it is so chemical laden probably the only natural ingredient in the stuff is the water (and that is debatable on the water’s naturalness) Anyways I just use it on my whites.

Note that we have super hard water here too which does not help the white situation.

You may use the Laundry concentrate at 1/2 detergent and 1/2 water also. I range between 2/3 to 1/2 water.

We still buy Wisk Laundry detergent for my son’s work uniform he works in the parts department of a car dealer and his uniform gets some transfer grease from the mechanics who come in and out of the parts department. And my daughter works at a fast food restaurant and she has to use the Wisk too because of the grease factor. I am not sure what ingredient is in the Wisk that is lacking in the homemade laundry detergent to solve this. But all the rest of our laundry seems to get clean just fine with the homemade stuff.

11. I like to add 1/4 oz or so of essential oils to the jug of laundry detergent.

My favorite combos are

Lemongrass, Lavender

Orange, Lavender

Tea Tree, and any of the above

Peppermint & Lemon


Happy Crafting and Happy Laundry!

Lisa


Essental Oil Suppliers at Wholesale Prices

Essential Oil SuppliersI have found some new Essential Oil suppliers. I have been impressed with their quality of oils as well as their prices.

It remains cheapest to buy the large size bottles and transfer them to dropper bottles. Even purchasing the empty dropper bottles form someone else still makes the oils cheaper than any other supplier.

The first company I would like to spotlight is

Essential Trading Post they are located out of New Bedford, MA. One of the best things about them is that if you order $35 then shipping is free! I have found that the shipping adds anywhere between .25 to .50 per ounce to the prices.They have answered all my questions and sent analysis sheets for my entire order upon request. Their oils seem fresh and pure and they seemed to fill the bottles. I did not weigh them but I was happy with them.


The next company I would like to spotlight is

100 % P.E.O. (Pure Essential Oils) This is a top rate company has cg/ms analysis on all their oils. They have been super helpful. They are in my shipping zone so I can have my oils the very next day and still pay ground shipping! I have been nothing but impressed with the quality of their oils. They are fresh and very pure. Their prices on some oils may be a little higher than my other suppliers but I know I am getting top quality. Their website is very professional. I get the impression they sell more than a few of the other suppliers so I believe this would make their oils fresher. Although many distributors are going to have different oils at different ages since they order them from the distilleries  at production time and different  plants are going to be ready different times of the year from various countries.

The third site I would like to feature is another distributor who is close by me so I can actually pick them up and save on shipping.

WFMed.com is their site. I was super impressed with their prices and their oils were top quality. They supply analysis sheets directly on their website. The analysis of the components of the oil is included in the MSDS sheet if available. It is included on some oils detailed by the percentage of g-terpinene and so forth suggesting a Gas chromatography–mass spectrometry test was done. Others do not contain this information. I think I asked the owner before and he said they do not do their own testing but some of the distilleries do that they purchase from.

Testing aside I was happy with the quality of the oils I purchased from them.

Out of the three sellers I have highlighted in this article some oils are better priced at one and other oils are better priced at another.  One particular supplier does not carry all the varieties of different oils that I prefer so I order from all three to get the best price and the specific species of say Peppermint and Eucalyptus that I need.

All three have the best price by buying larger quantities. That then requires to transfer to dropper bottles for ease of use.

Click on picture to order Essential Oils at great prices

If you wish to order smaller quantities at great prices see my website to order. We also carry some wonderful natural products made from Essential Oils.

Hope this has helped you find and discover more about Essential Oils.

Happy Crafting

Lisa


How to make Lip Balm with Essential Oils

How to make Homemade Lip Balm with Essential Oils

I am still using essential oils. I have been doing a ton of research on essential oil and will be sharing what I have learned in an upcoming post.

I have been exploring a few more suppliers and been reviewing many aromatherapy educational websites and will be writing some posts on those too.

Today I am excited to share some of my favorite aromatherapy recipes. And some great sites to get more recipes to try.

I of course have to change things around to make recipes my own or adapt to the ingredients I have on hand.
It seems I can never follow a recipe exactly I always have to tweak it or embellish it making it my own.

The basic recipe for making Lip Balm in a tube is….

2 part solid natural “butter” ( like coco butter or shea butter)
2 parts liquid cold pressed vegetable oil (sweet almond oil, jojoba oil, sunflower oil, olive oil, etc.)
1 part plus 1/3 bees wax
10-15  drops essential oil depending on strength (peppermint use 1/2 that amount) for every 8 tubes

Some say a 3 parts carrier oil (vegetable oils) to 1 part beeswax and as much butters as you wish because they are already solid at room temperature. Usually 1 part.  As in butters I mean Shea butter or Cocoa Butter.
Another source said to use a 4 part butter and oils to 2 part bees wax. This works too. If your concoction is just too soft ad a little more beeswax. Maybe for lips you want it stiffer so it doesn’t go on too heavy but for your elbows and heels you want it softer.
I was super happy with the weight of mine for both applications.

In other words if that all is too much math here is my recipe:
Lemon Peppermint Lip Balm
1 Tablespoon  Coconut oil
1 Tablespoon Cocoa Butter
2 Tablespoon Sweet Almond Oil
1 Tablespoon plus 1 teaspoon grated Bees Wax
10 drops of lemon essential oil
optional plus 4 drops of peppermint essential oil
Fills 8 tubes (it filled 7 tubes for me with a little extra maybe I filled them too much and should have evenly distributed it among the 8.

I am always heavy handed on the scent factor you may want to reduce the amount of essential oil used.
10 total drops is plenty.

I wanted a small recipe to try to make sure I liked the consistency. This was perfect for the .15 oz tubes you can purchase here at Majestic Mountain Sage

Bees Wax pellets from Bulk Apothecary measured in microwave safe plastic measuring cup. (2 cup size)
In hindsight I now make this recipe in glass mixing cup as the glass heats up a little and does not make the wax cool as you pour it. (you will see this in the later pictures below)

Coconut oil I just purchased at Wal-Mart probably not best price but I did not have to pay shipping on it.

Raw Natural Cocoa Butter from Bulk Apothecary.

Sweet Almond Oil (liquid) from Bulk Apothecary.
1 Tablespoon plus 1 teaspoon and 1  Tablespoon of Coconut oil measured in container.

1 Tablespoon of Sweet Almond oil added.

Now here is a difference between my recipe and most of the others you find on the internet. Most tell you to melt in a double boiler or set the glass cup or bowl in a pan of boiling water on the stove. Well I figured my new microwave has a bunch of settings including melt. So I melted my ingredients in the microwave on melt.

However not much happened the coconut oil melted but the bees wax was slow to melt. So I just melted it on regular speed in my microwave a minute at a time watching until the bees wax got smaller and smaller and finally melted.

Then I added the Essential Oils. My mixture of wax and oils were barely melted so my oils were not going to instantly evaporate like they would in a really hot mixture. You probably will loose a little to evaporation just breathe it in and gain the therapeutic essence of the oils.

I placed the tubes in a small Rubbermaid container. Remember I was doing a small batch.
Next time I will order one of these great tube holder from Majestic Mountain Sage.
DSC_0261.JPG click on picture for manufactures directions.

In the meantime here is how I did it…

When I started pouring they immediately started to solidify. I could not grab the camera fast enough and it was inches away.
It was pretty hot outside that day so the air conditioning was running and my kitchen was pretty cool.

You can see how during the pouring it just solidified on the side of the container because the plastic was cool.

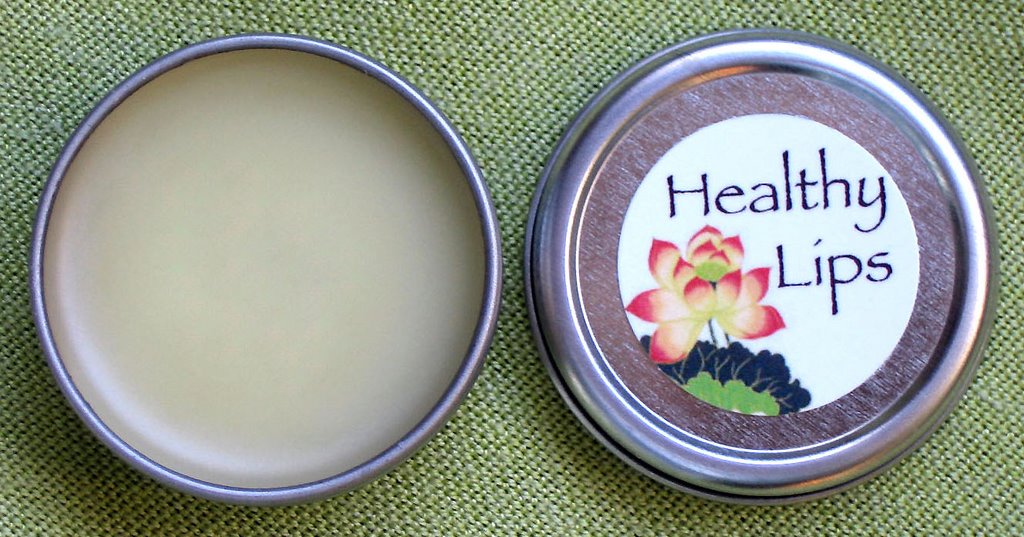
I did have to remelt it in the end to get the last little bit out. I ended up with not enough to fill the 8th tube. So I put it in my glass measuring cup and made another batch to make elbow and heel suave which is basically the same recipe just poured into a little tin.

Tin Flat Container 2oz w/ Cover

I ordered these from Specialty Bottle Company. 

See how partway through I had to remelt.

Finished pouring but not completely set up yet.

Finished product. I tried topping some of them off notice that did not really work. the little lump sometimes came off on your lip. Not all of them though. It was just too cool in my kitchen the day I made these.
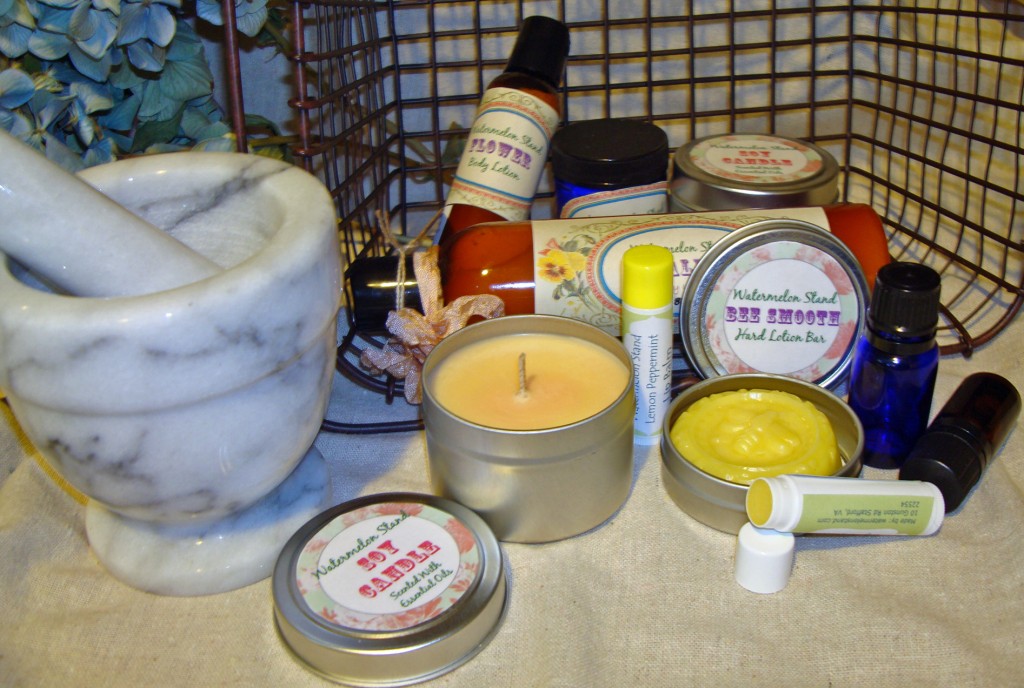
But otherwise they really turned out wonderfully. The smell so yummy and feel like silk on your lips.
I made a lemon batch and then a lemon peppermint batch.

Here are some links to some other great recipes for lip balm….
Click on picture to go to some great lip balm recipes
Yummy Homemade Lip Balm

http://photos1.blogger.com/blogger/3878/2497/1600/LipBalm.jpg

Interestingly here is a recipe that is almost 1 part Bees Wax plus 1.25 part liquid oil. Makes a small enough amount to try. Click on the picture above to go to the recipe.

TIPNUT

This above link has a bunch of links to other recipes. But what really caught my attention was the chocolate recipe at the bottom of the page.
Hope you enjoy making some lip balm. Next post is Body Butter.
It melts upon skin contact. Gotta love it.
Thanks for reading
Make a comment!!!!
Join my blog!!!!
Love,
Lisa