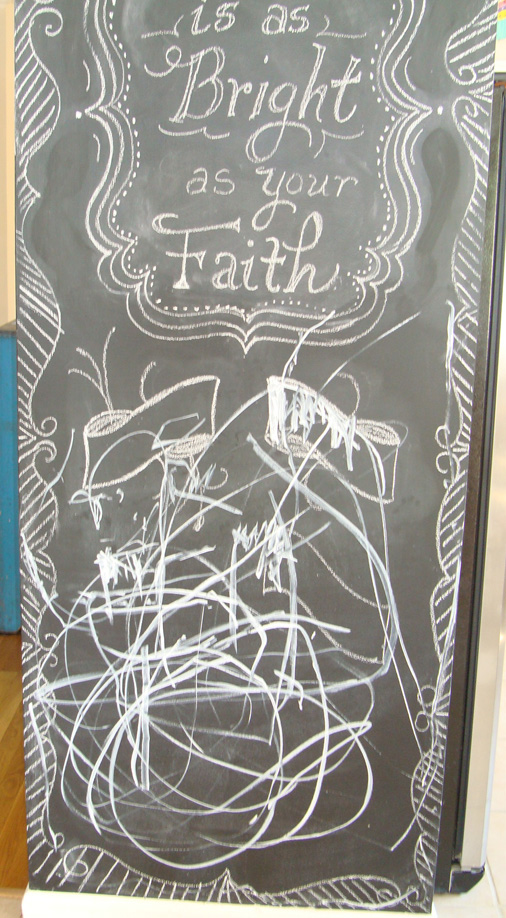
Photos of the chalkboard wall.
We painted with chalkboard paint several coats about three. We lightly sanded it in between coats with a fine grit sandpaper.
Each coat we blocked it off with a sponge brush after applying the paint on with a roller.
Blocking is when you put the paint on with a roller and then “block” it off by smoothing over the wet paint with a paint brush or in this case a wide foam brush.
The original wall paint was put on with a roller and so a little bumpy. You know how your walls have a slight texture to them from the roller. I thought this would be a problem when using the chalk on it later. Even after sanding and blocking it still had a slight texture. But it did not seem to make a difference with the chalk later. I was very happy with how the chalk wrote on the surface.
Remember in my other post I mentioned the six times I redid the bottom half before I made it more permanent with the chalk ink. One day I left the chalk ink pens on the kitchen table and when my 3 year old came up missing for 2 minutes he accomplished this.
Below is the finished wall with chalk ink and chalk shading.


